Your cart is currently empty!
🌱 Fermenting with Microgreens: A Gut-Healthy Revolution
—
by
Welcome to Grassroots Farms, where sustainability meets flavor! Level up your microgreens and unlock wild fermentation at home with probiotic-rich starters made from fresh greens or seeds.
To keep your microgreen fermentation starter alive and active—just like a sourdough starter—you need to feed and care for it regularly, ensuring a continuous supply of wild yeast and beneficial bacteria for baking, dressings, dips, and more.
✨ Why Ferment Microgreens & Seeds?
- Supercharged Nutrition: Fermentation makes vitamins and minerals easier for your body to use.
- Probiotic Powerhouse: Supports digestive and immune health.
- Flavor Explosion: Tangy, bold notes for any dish.
- Sustainability: Growing and fermenting microgreens at home is eco-friendly.
🥒 Microgreen Fermentation Starter Recipe
Ingredients:
- 1–2 cups fresh microgreens (broccoli, radish, or pea shoots)
- Non-iodized salt
- Filtered water
- Clean glass jar
- Fermentation weight or stone
Step-by-Step Recipe:
- Choose your base: Fresh microgreens or seeds (soak seeds 6–8 hours).
- Prepare brine: Mix 1–3 tbsp non-iodized salt per quart water.
- Pack the jar: Press microgreens/seeds gently into jar.
- Submerge: Cover with brine, weigh down contents.
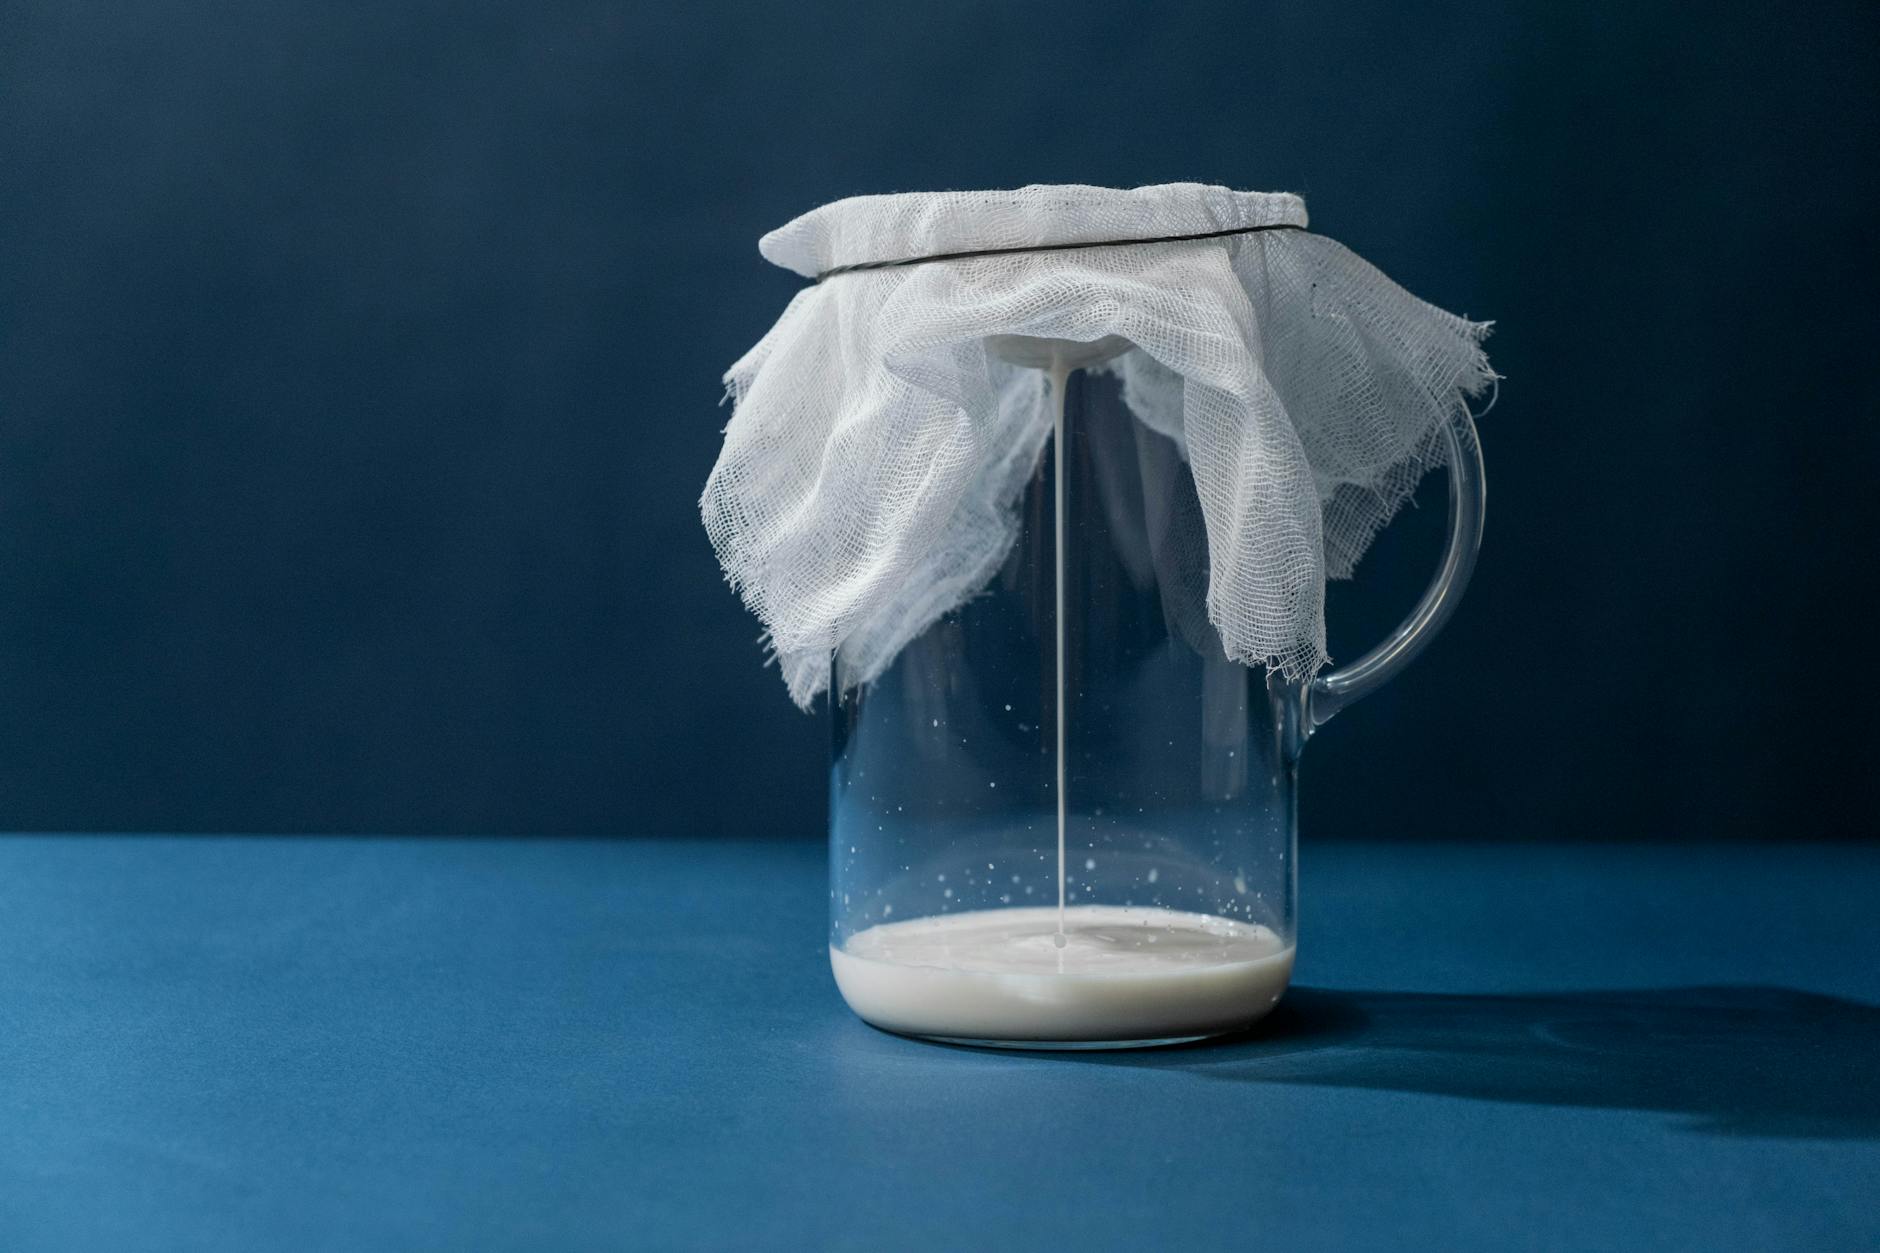
- Seal & ferment: Cloth or airlock lid, ferment at room temp 3–7 days—taste daily for tang.
- Store: Refrigerate when ready. Starter will keep for weeks.
🧑🍳 Baker’s Pro Tip: Combine 1 tbsp fermented brine with equal flour and water. Let bubble 24–48 hours for homemade microgreen sourdough starter!
🔄 How to Keep Your Microgreen Starter Alive and Active
Just like sourdough, your fermentation starter needs feeding to stay vigorous:
- Daily or Weekly Feeding: Mix a portion of starter with fresh flour and water (equal weights). You can also add a teaspoon of fresh brine or fresh microgreens for extra vigor.
- Remove and Refresh: Discard most of the starter (saving 1–2 tbsp). Feed with new ingredients and mix, then let sit at room temperature for several hours or overnight.
- Temperature & Timing: Keep at room temp for activity; refrigerate to slow growth if not baking frequently.
- Look for Bubbles: A healthy starter should bubble—indicating active fermentation.
- Consistency: Keep the starter moist but not soupy. Stir daily; add flour if too wet, water if too dry.
Tip: Always use clean utensils and containers to prevent contamination. If you see visible mold or an unpleasant odor, discard and start fresh.
🍞 What Can You Make With a Microgreen Starter?
- Tangy, nutritious breads
- Probiotic salad dressings and dips
- Flavorful sauces, pestos, and spreads
- Fermented toppings for bowls & sandwiches
⚠️ Things to Avoid
- No iodized salt—inhibits fermentation
- Keep greens submerged—prevents mold
- Stay clean—sterilize jars/utensils
- Discard if spoiled—foul odor or mold means toss it out
📚 Get Creative—Grab Your Cookbook!
Unlock dozens of fermentation-forward recipes in our Grassroots Farms Microgreens Cookbook! From tangy sourdough to bold, probiotic pestos—celebrate local freshness.
🌱📖 Order the Cookbook: https://www.amazon.ca/101-Microgreens-Recipes-ULTIMATE-Cookbook/dp/B0DM1X3FQP
💡 Share Your Creations With Us!
Hashtags:
#GrassrootsFermentation #MicrogreenMagic #EatYourGreens #Probiotics #HealthyGut #HomeFermentation #CookbookLove #LocalFarms
🥒🍞🥗
Leave a Reply